
By Laura Neff, NS/S Education Assistant.
Tomatoes are not only one of the most popular garden veggies to grow, but the experience of saving their seeds is a unique one that won’t soon to be forgotten. The whole production is a tactile and olfactory wonder. These tasty nightshades are “double dippers”. This means that your beautiful piece of fruit is edible at the same time its seeds are mature and ready to be harvested and saved (as a contrast, consider lettuce: in order to harvest its seed you have to let the plant mature to the point where the leaves are quite bitter and to some, less palatable.).
Tomato seeds are cleaned and saved through a process of fermentation. This mimics the natural rotting that occurs in nature and removes the germination inhibitors within the gelatinous sheath that covers seeds while in the fruit.
What you need:
HARVEST THE FRUIT
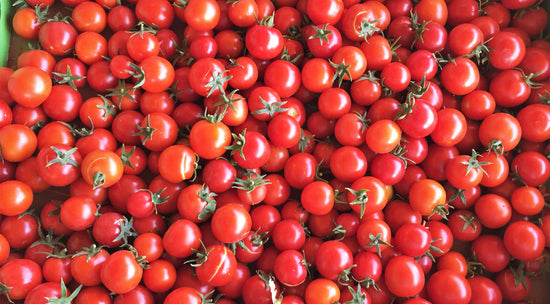
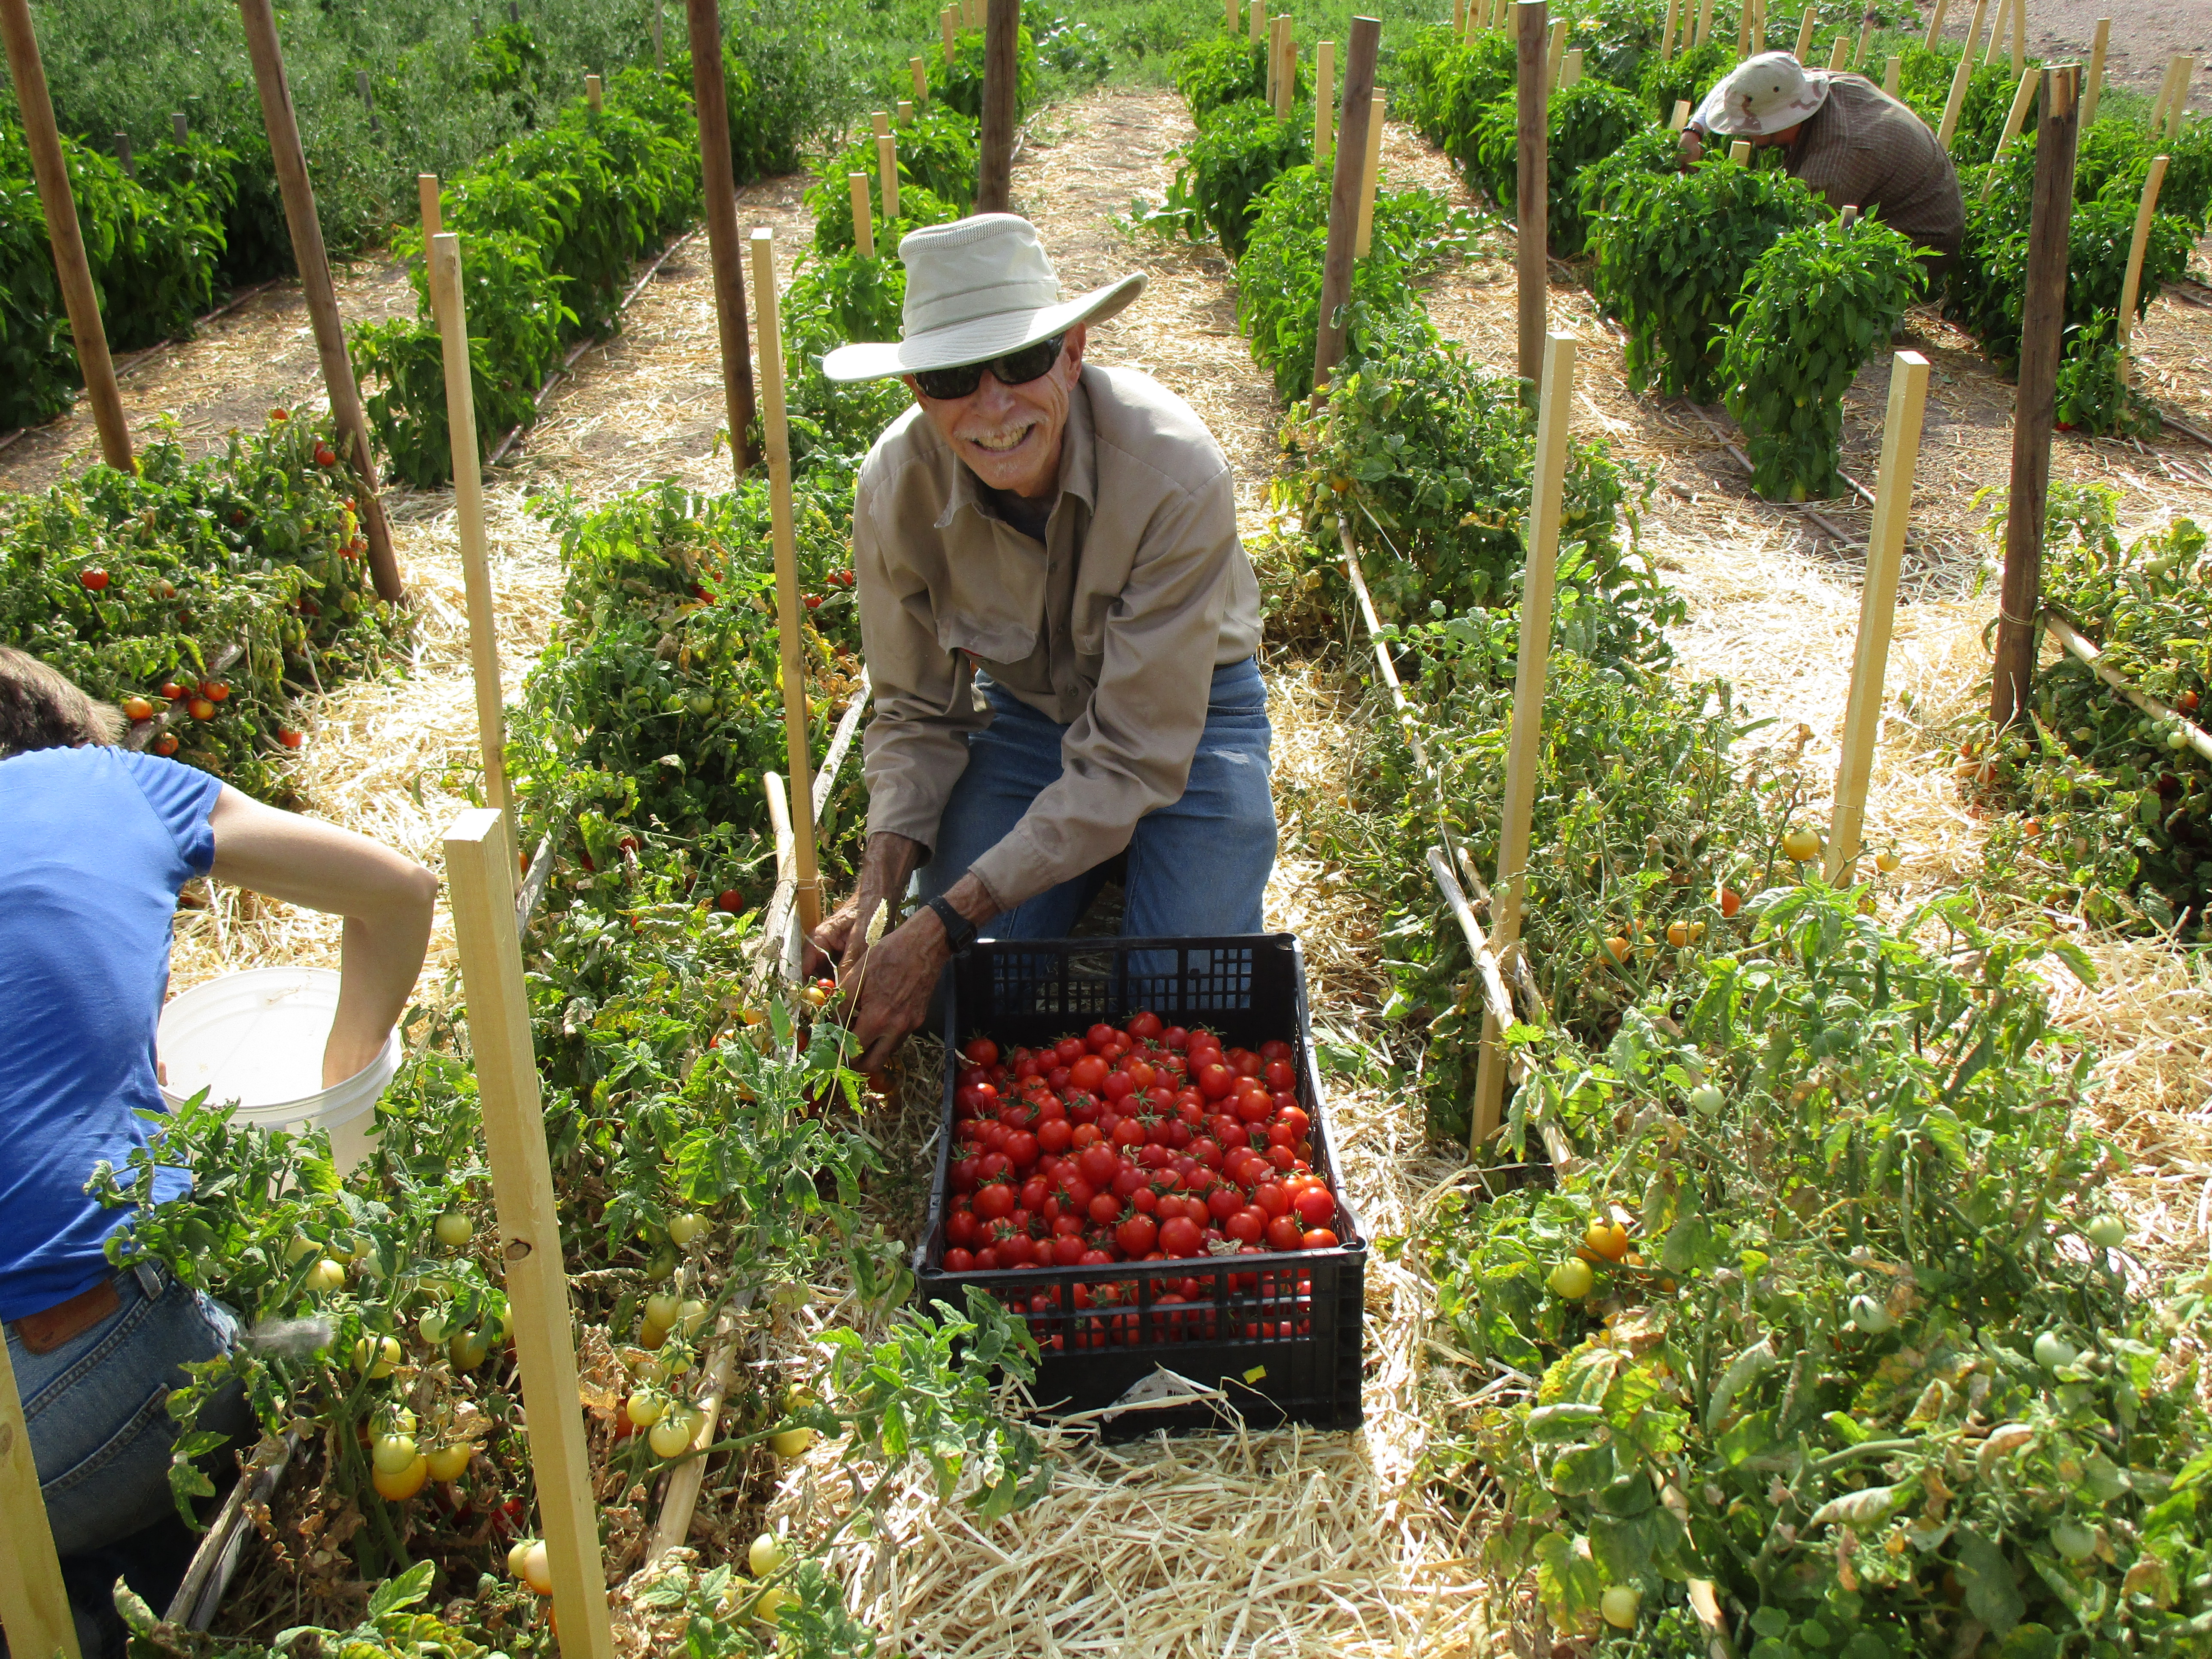
Start with harvesting healthy tomatoes from healthy looking, open-pollinated plants when they are fully ripe and can easily be picked from the vine. In fact, overripe is best. The more healthy plants (of a particular variety) you harvest from, the healthier your tomato plants will be in the future. If you are growing multiple varieties of tomatoes, you may need to consider whether there is enough space separating them to avoid cross-pollination. Otherwise, you might have some interesting surprises when you grow them.

GET THE SEEDS OUT
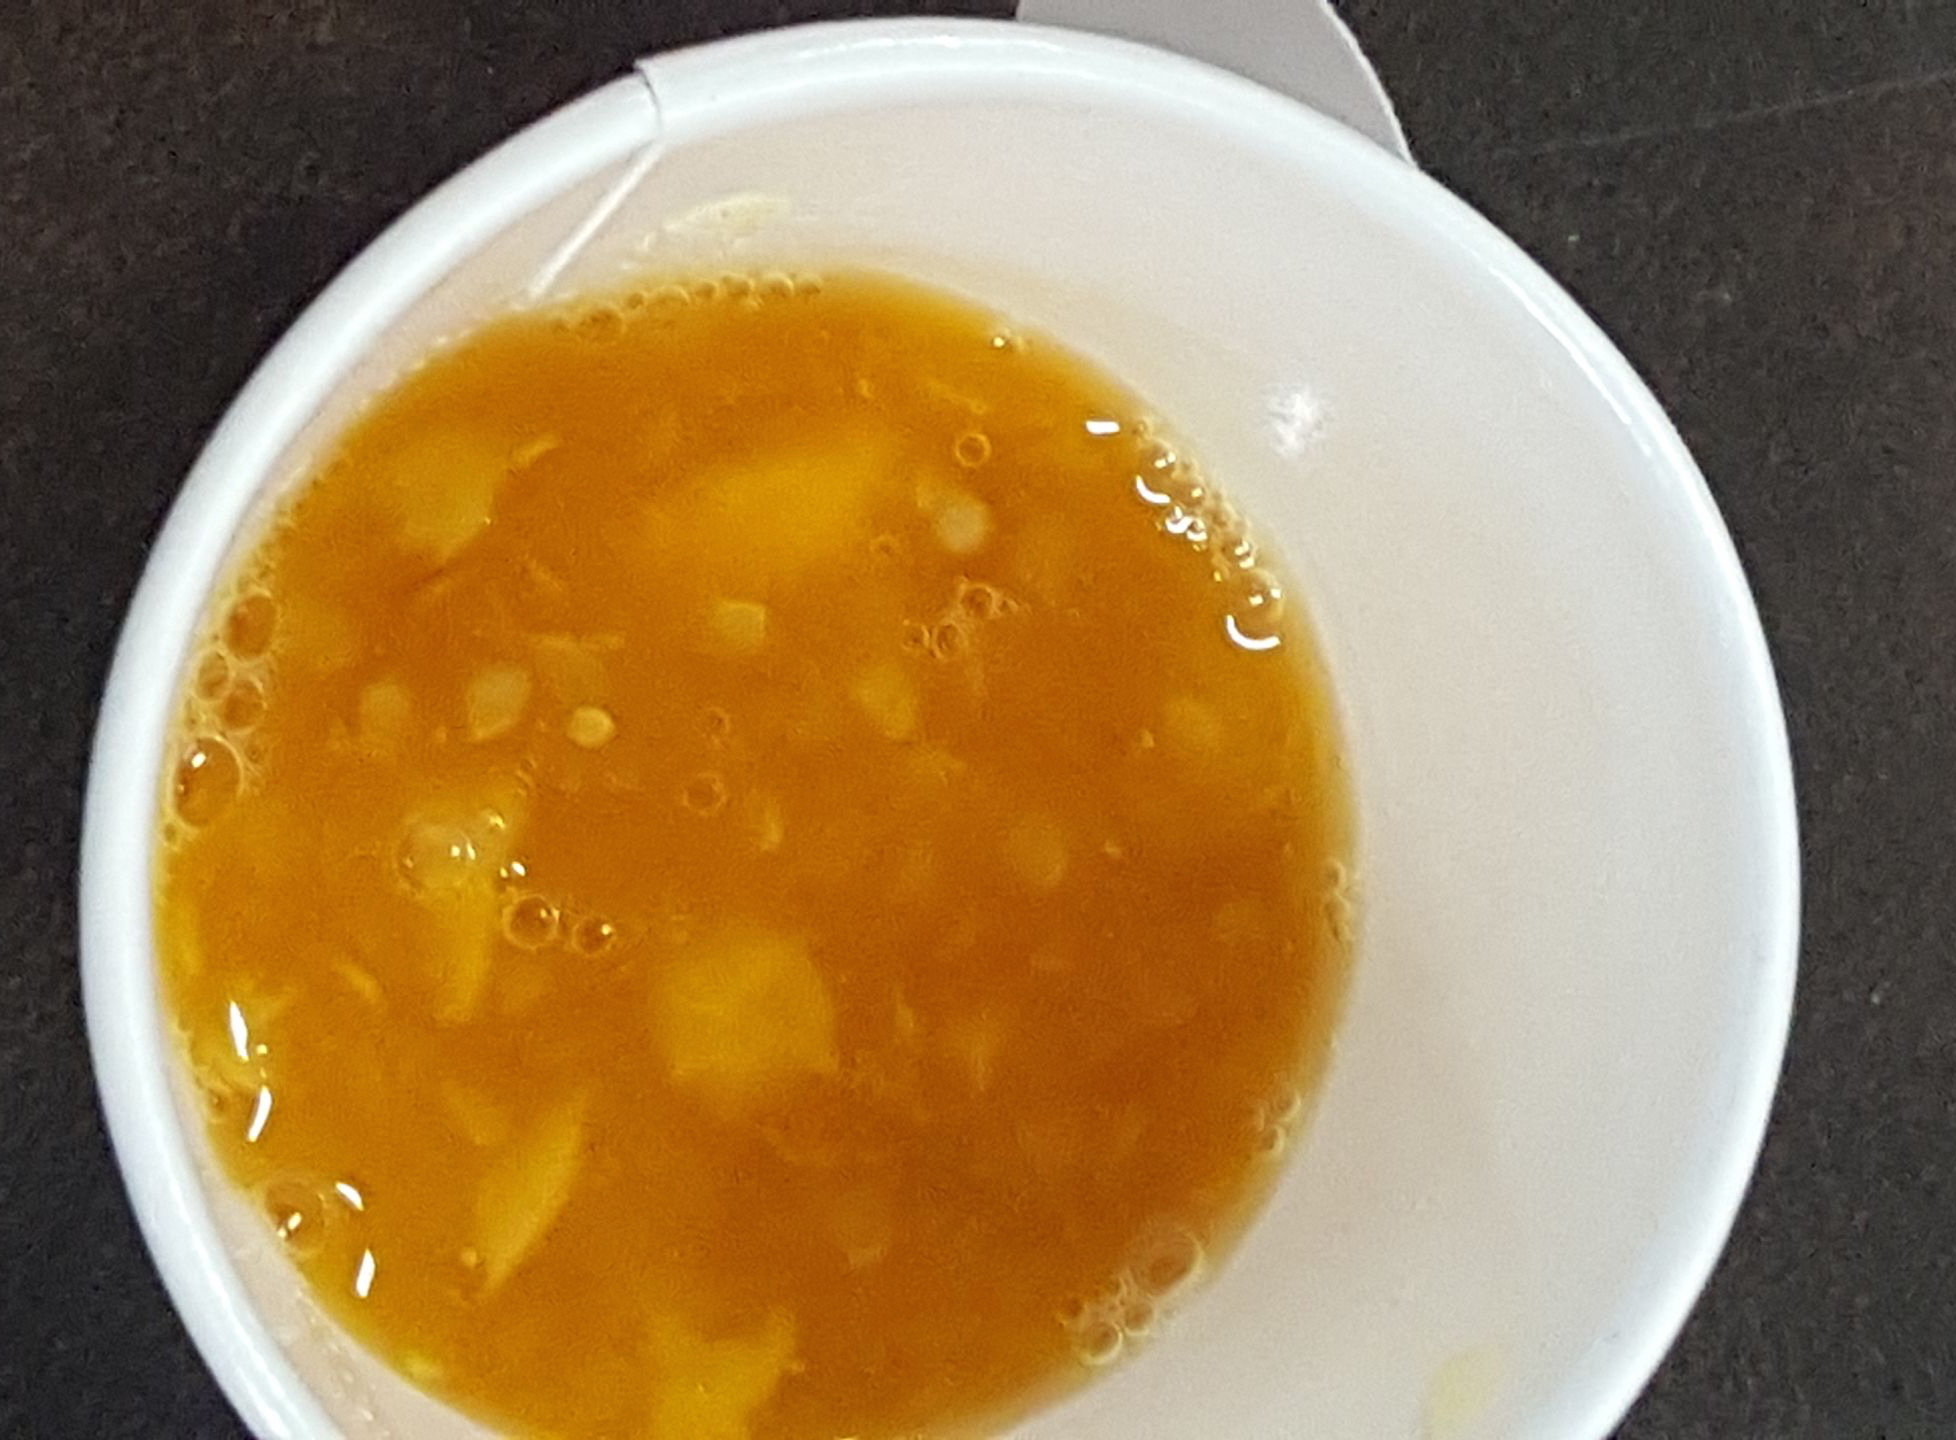
Cut the tomatoes open and squeeze out the watery inside containing the seeds into a cup. Cherry tomatoes can be blended to separate the pulp and seeds, but this will mean that the flesh cannot be used for other purposes, namely eating.
SET UP THE FERMENT
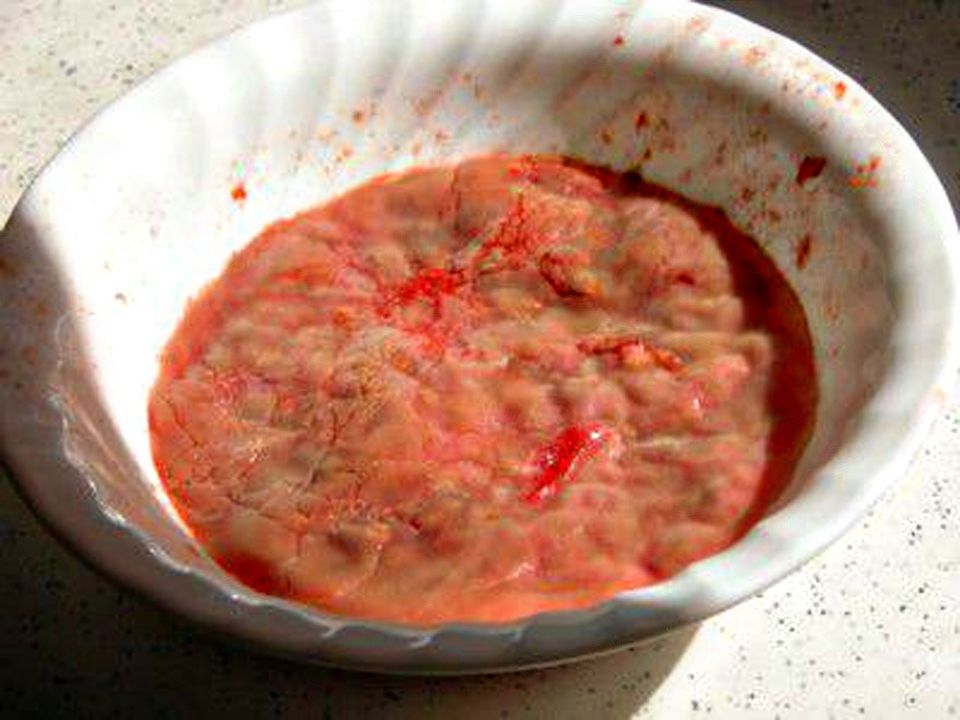
Add a few tablespoons of water to the slurry so the seeds don’t dry out, stir, and cover the jar with a muslin cloth or a loose lid. Place the Mason jar in a warm spot away from direct sunlight for 3-5 days, until a layer of white mold appears on top. The mold is a necessary part of saving tomato seeds as the fermentation process breaks down the gel sac surrounding the seed. Bubbles may form and the mold will smell bad. One NS/S staff member described the smell as “tomato vomit.” Something to look forward to! Do not over-ferment or the seeds may sprout in the water, rendering them useless to plant.
WAIT A WHILE AND THEN...
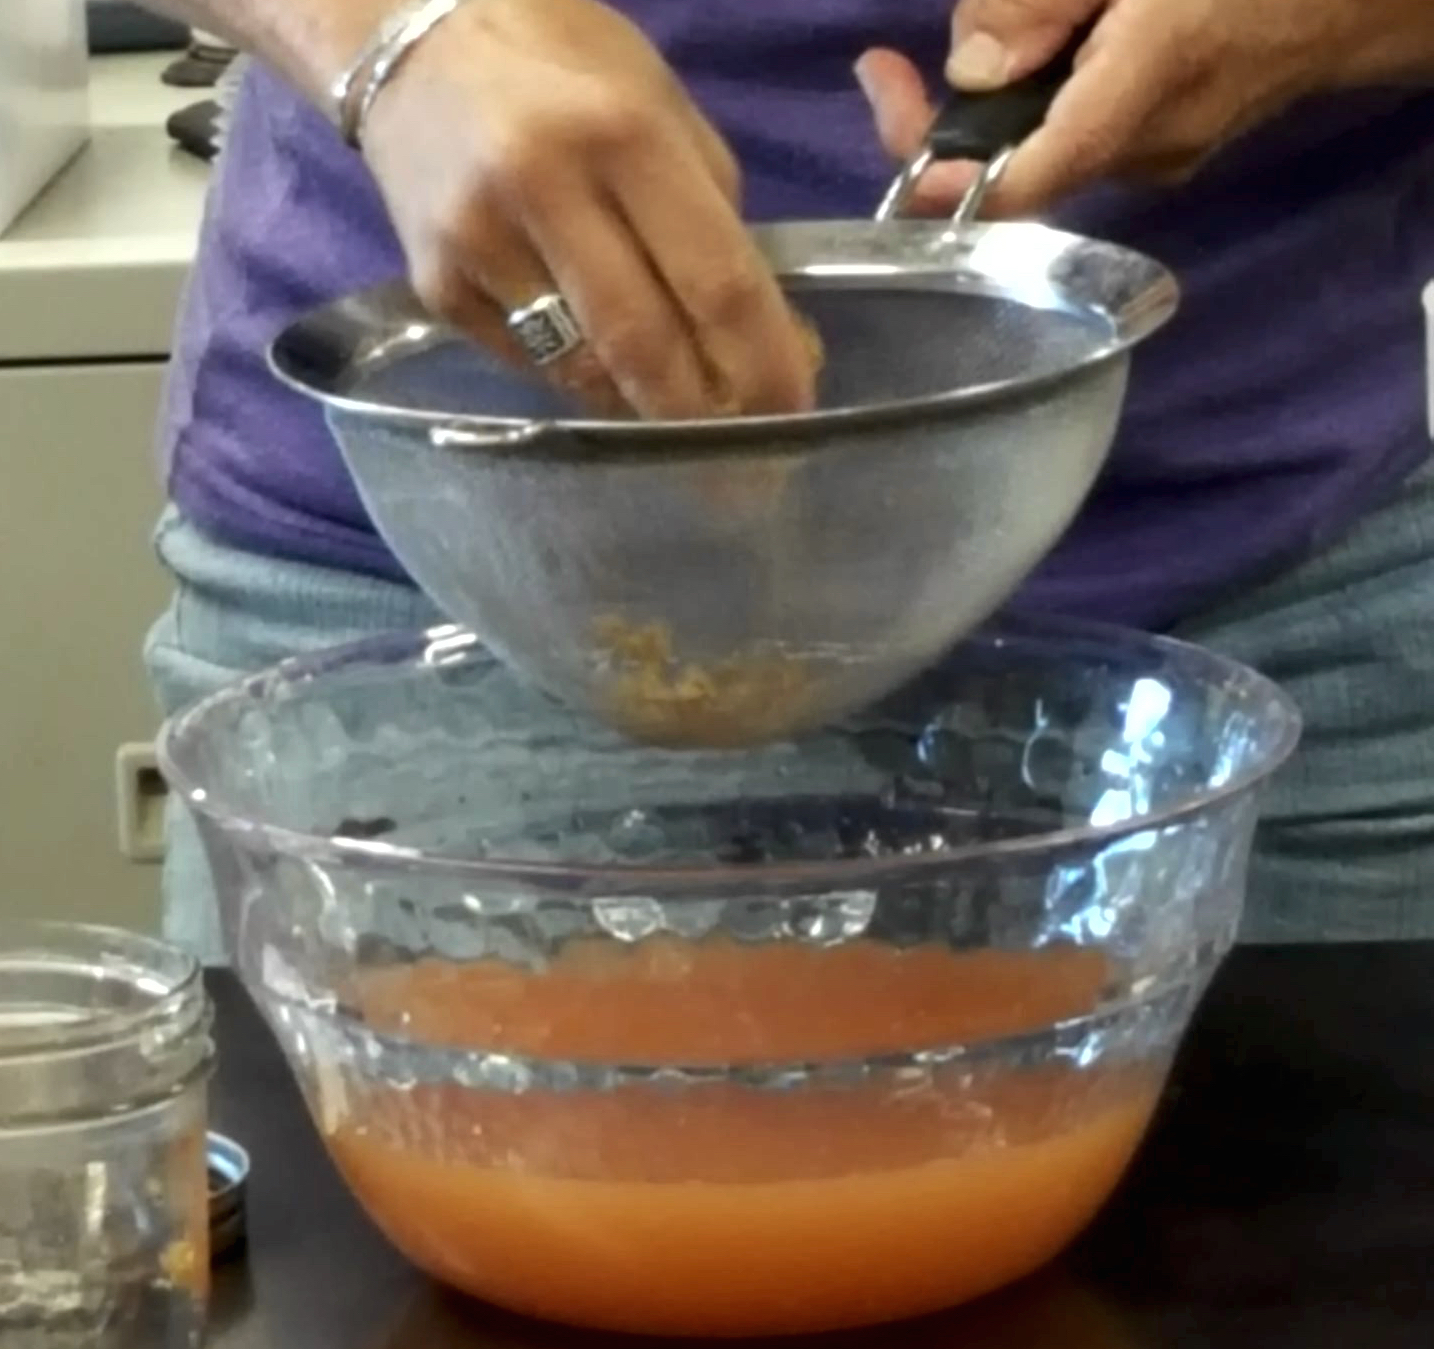
When ready to process, scrape off the mold layer and fill the Mason jar with water. Stir the contents of the jar and let it settle. The viable seeds will sink to the bottom while the pulp and unviable seeds will float.
Carefully pour off the unviable seed and floating pulp. Then, add more water and repeat this step until only heavy, viable seeds remain. This process is known as water winnowing. Once you have only viable seed left, strain and rinse the seeds. It is slightly harder than we're making it sound, only because you will probably have to pick pieces of stubborn pulp off your seeds before they're completely separated. Squeeze out the moisture with your hands and dry on a coffee filter for a few days, out of direct sunlight.
We tend to think we'll remember the type of seeds we stored in that unlabeled jar for years to come, but in reality we often don't. Once your seeds have dried completely, put them in an airtight container and label them. Store in a cool, dry and dark place until you're ready to plant.
Have questions? Let us know. Happy seed saving!